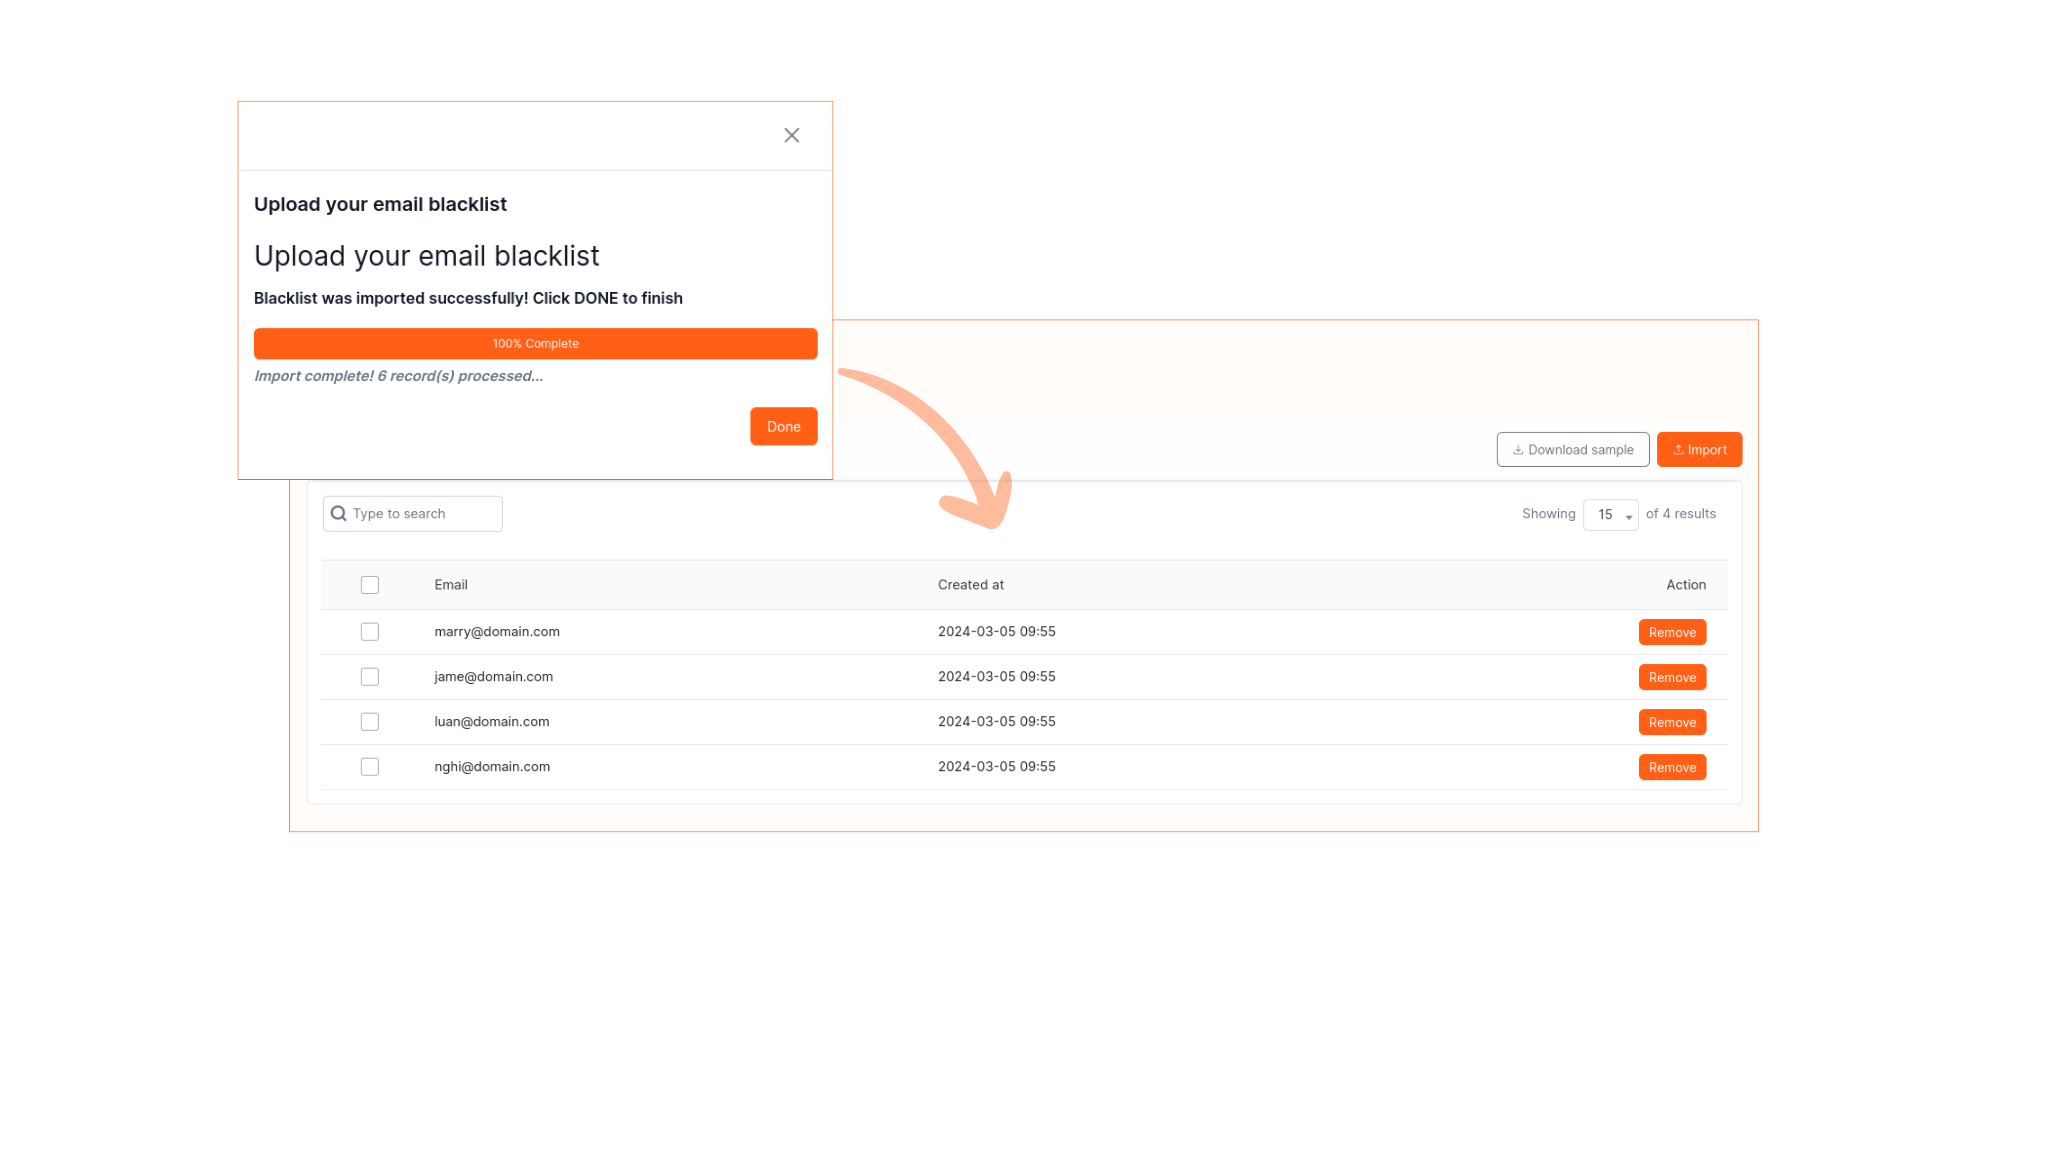
Managing Blacklisted Emails
 The Blacklist feature in Mailcamp allows users to upload a CSV file containing email addresses that are to be excluded from receiving email campaigns. Emails listed in the blacklist will not receive any campaign emails sent via Mailcamp. Access to this feature can be found in the Settings submenu -> Blacklist.
Step 1: Accessing Blacklist Feature:
• Navigate to the "Settings" menu in Mailcamp.
• Select the "Blacklist" submenu to access the blacklist feature.
Step 2: Uploading CSV File:
• Prepare a CSV file containing the email addresses to be blacklisted.
• In the Blacklist section, click on the option to upload the CSV file.
• Select the file from your computer and upload it to Mailcamp.
Step 3: Managing Blacklisted Emails:
• Once the CSV file is uploaded, Mailcamp will automatically add the email addresses to the blacklist.
• Users can review and manage the blacklisted email addresses from the Blacklist section.
Note for Users:
• Any email address listed in the blacklist will be excluded from receiving email campaigns sent via Mailcamp.
• It's important to regularly review and update the blacklist to ensure that campaign emails are not sent to undesired recipients.
By following this guide, you can effectively utilize the Blacklist feature in Mailcamp to exclude undesired email addresses from receiving campaign emails.