Mastering Email Automation: A Comprehensive Guide to Mailcamp's Automated Workflows
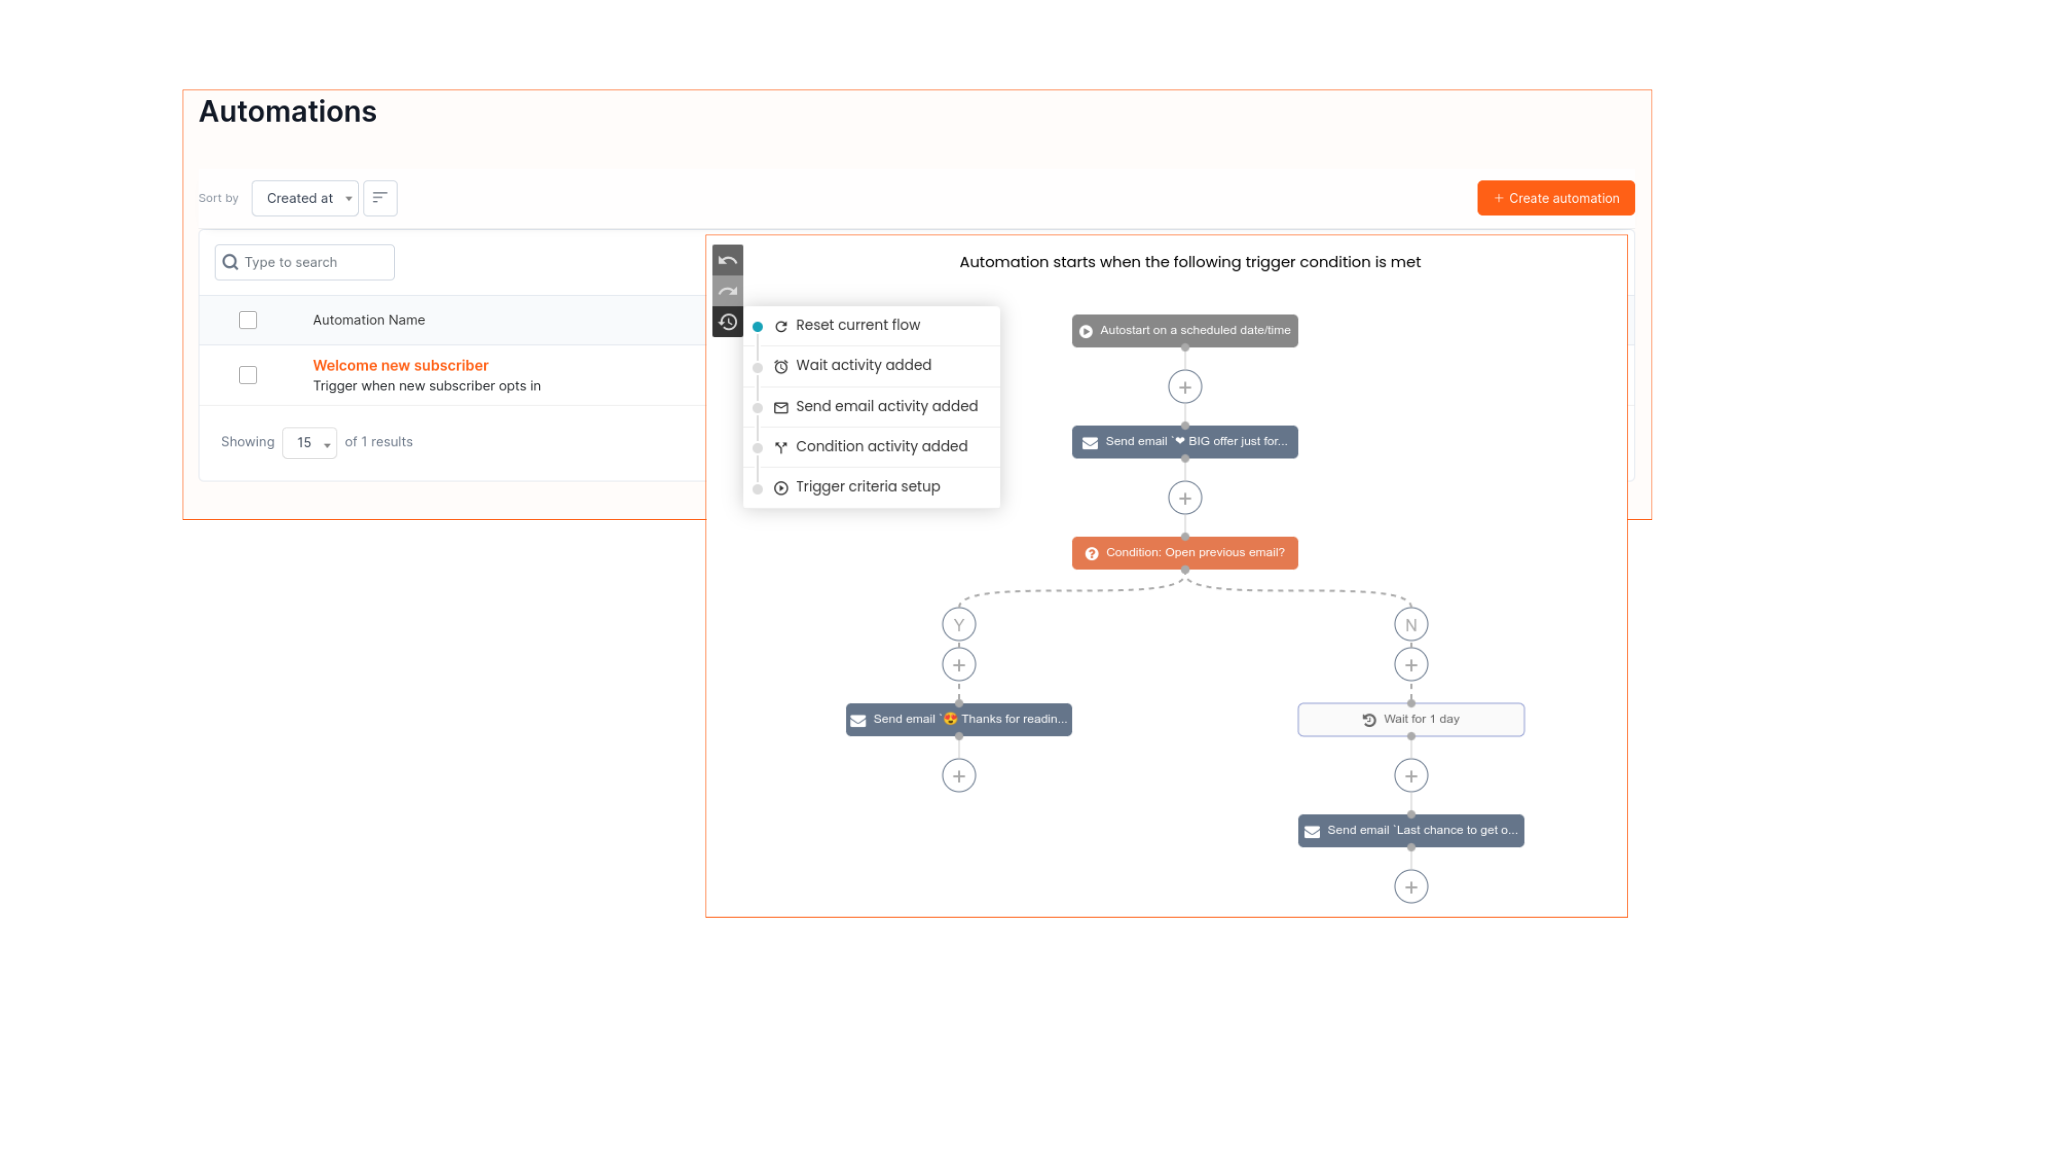
 Automation in Mailcamp revolutionizes email marketing by allowing users to create targeted and personalized email workflows that run automatically based on predefined triggers. With automation, users can engage subscribers at key moments, nurture leads, and drive conversions without manual intervention. Whether welcoming new subscribers, acknowledging birthdays, or sending timely reminders, automation streamlines marketing efforts and enhances customer relationships.
Trigger Automation Descriptions:
‣ Welcome New Subscribers:
Automatically send a welcome email to new subscribers upon their subscription to your mailing list.
‣ Say Happy Birthday:
Trigger personalized birthday emails to subscribers on their special day, fostering a personal connection.
‣ Subscriber Added Date:
Send automated emails based on the date subscribers were added to your list, enabling timely follow-ups or promotions.
‣ Specific Date:
Schedule emails to be sent on specific dates, such as anniversaries or holidays, to engage subscribers with relevant content.
‣ Say Goodbye to Subscriber:
Bid farewell to subscribers who opt-out or unsubscribe from your list with automated goodbye emails, encouraging them to stay connected.
‣ API 3.0:
Utilize Mailcamp's API 3.0 integration to trigger automated emails based on custom events or actions in external systems.
‣ Weekly Recurring:
Set up recurring emails to be sent automatically on a weekly basis, providing consistent engagement to your audience.
‣ Monthly Recurring:
Establish monthly recurring emails to deliver regular updates, promotions, or newsletters to subscribers at set intervals.
Step 1: Accessing Automation Features:
• Navigate to the Automation section in Mailcamp.
• Click on "Create New Automation" to start building your automated workflow.
Step 2: Choosing Trigger:
• Select the desired trigger from the available options, such as "Welcome New Subscribers" or "Say Happy Birthday."
Step 3: Configuring Workflow:
• Design the email content and set up the desired actions or sequences for the automation workflow.
• Customize timing, conditions, and segmentation to tailor the automation to your audience's needs.
Step 4: Testing and Activation:
• Test the automation workflow to ensure that emails are triggered correctly.
• Activate the automation to start running automatically based on the predefined triggers.
Note for Users:
Regularly monitor and optimize your automation workflows to ensure relevance and effectiveness.
Leverage segmentation and personalization to deliver highly targeted and engaging automated emails to your subscribers.
By following this guide, you can harness the power of automation in Mailcamp to create personalized and timely email workflows that engage subscribers and drive business growth.